All the world of cacao in one click.
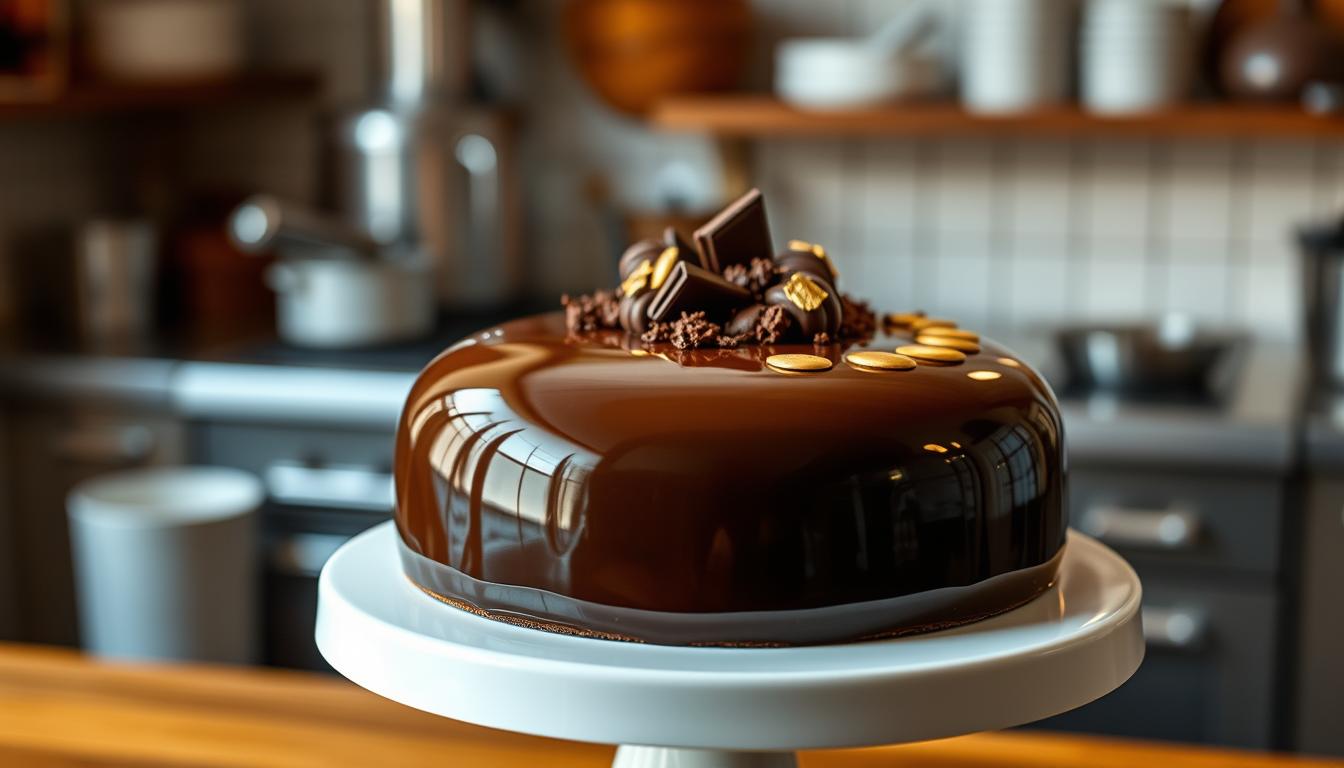
Master the art of the perfect chocolate mirror glaze with this step-by-step tutorial on the Chocolate Mirror Glaze Technique.
To achieve a reflective finish with your chocolate glaze, it’s essential to understand the importance of using high-quality ingredients and following a precise process. You will start by preparing the necessary ingredients, including gelatin and glucose syrup.
The gelatin bloom is a critical step that requires attention to detail to ensure the right texture. By following the correct chocolate mirror glaze technique, you can achieve a smooth and even finish.
To begin, you will need to prepare the ingredients and equipment needed for the glaze. This includes measuring out the ingredients according to the recipe and ensuring that your equipment is clean and ready for use.
To attain a mirror-like finish on your chocolates, it’s crucial to grasp the intricacies of the glaze’s ingredients. A reflective mirror glaze is achieved through a precise combination of quality ingredients and a well-controlled preparation process.
The quality of your mirror glaze is heavily dependent on the essential components and their proportions. Understanding the role of each ingredient is vital to achieving the desired reflective finish.
The primary ingredients in a chocolate mirror glaze include chocolate, glucose syrup, and water. Each of these components serves a specific purpose in achieving the perfect glaze.
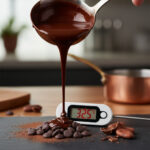
Glucose syrup, for instance, is crucial as it helps prevent the crystallization of sugar, ensuring a smooth and reflective surface. Temperature precision is also vital, as it affects the glaze’s viscosity and its ability to set properly.

| Ingredient | Baker’s Percentage (%) |
|---|---|
| Dark Chocolate | 100 |
| Glucose Syrup | 30 |
| Water | 50 |
By understanding the role of each ingredient and maintaining temperature precision, you can achieve a flawless, reflective chocolate mirror glaze. The table above outlines a basic recipe using Baker’s percentages, allowing you to scale your glaze production accurately.
Mastering the art of chocolate mirror glaze involves grasping the importance of gelatin bloom and temperature precision. Gelatin is a critical component that provides the necessary structure and texture to the glaze.
Gelatin bloom refers to the process of hydrating gelatin in water to create a gel-like substance that is essential for a smooth, even glaze. To achieve the right consistency, you need to understand how to properly bloom gelatin.
This process ensures that your gelatin is properly hydrated and ready for use in your chocolate mirror glaze.
Temperature precision is vital when working with gelatin. If the gelatin mixture is too hot, it can damage the chocolate, causing it to seize. Conversely, if it’s too cold, the gelatin may not dissolve properly, leading to an uneven glaze.
To achieve the ideal temperature, follow these steps:

By controlling the temperature and properly blooming your gelatin, you can achieve a chocolate mirror glaze technique that results in a smooth, glossy finish.
A bubble-free texture is the hallmark of a professional chocolate mirror glaze. To achieve this, you need to focus on the preparation and application techniques that eliminate bubbles.
Removing bubbles from your glaze is crucial for a smooth finish. You can use a few techniques to achieve this:

To ensure your glaze is not only bubble-free but also smooth, follow these steps:
By mastering these techniques, you can achieve a flawless, mirror-like finish on your chocolate creations.
To attain a smooth, glossy finish with your chocolate mirror glaze, understanding the pouring process is essential. The technique you use can make a significant difference in the final appearance of your dessert.
Before you start pouring, it’s crucial to ensure that your glaze is at the right temperature and consistency. A warm glaze that is too thin may not provide the desired reflective finish, while a glaze that is too cold and thick may not pour smoothly.
To prepare your glaze, follow these steps:
With your glaze prepared, it’s time to pour. The height and speed of your pour can significantly impact the final result. Pouring from too great a height can introduce air bubbles, while pouring too slowly may result in an uneven coat.

By mastering the pouring technique, you can achieve a reflective finish that enhances the visual appeal of your desserts. Practice makes perfect, so don’t be discouraged if it takes a few attempts to get it just right.
A dull finish on your chocolate mirror glaze can be disappointing, especially after following the precise steps outlined earlier. Several factors can contribute to this issue, including improper temperature control, inadequate gelatin bloom, or the presence of bubbles.
One common issue is the formation of bubbles during the pouring process, which can be mitigated by using a bubble-free glaze technique. Ensuring your glaze is at the right temperature and using a spatula to gently remove any bubbles that form can help.
Using glucose syrup can help prevent crystallization, resulting in a smoother finish. Adjusting the ratio of glucose syrup in your recipe can make a significant difference. By refining your Chocolate Mirror Glaze Technique and making these adjustments, you can achieve a professional-quality, shiny glaze.
By understanding the causes of a dull glaze and making the necessary adjustments, you can perfect your Chocolate Mirror Glaze Technique and achieve a flawless, reflective finish.