All the world of cacao in one click.
Learn to make your own delicious homemade chocolate hazelnut spread, better than store-bought Nutella.
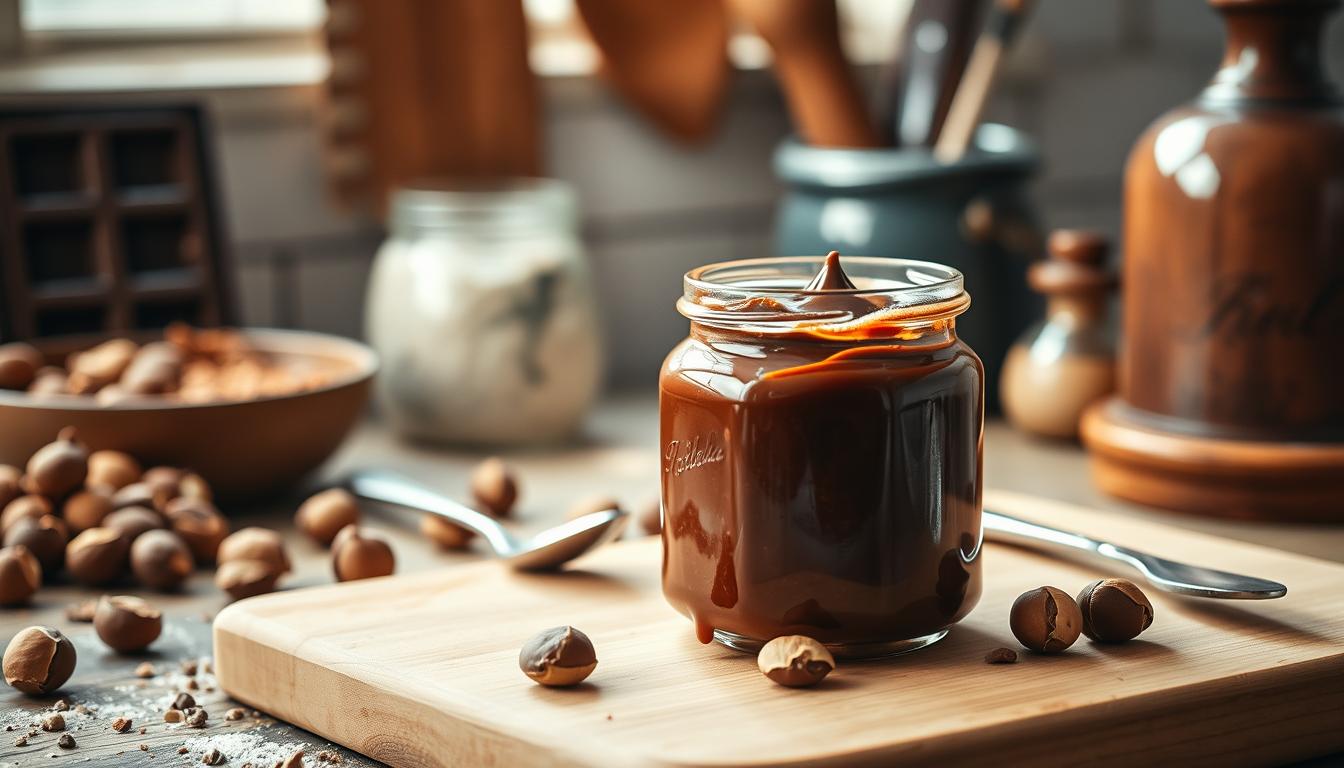
Creating a high-quality Gianduja, an Italian chocolate-hazelnut paste, is the foundation of a professional artisan spread. To make a superior Homemade Chocolate Hazelnut Spread, you need to understand the importance of precise ingredient ratios and a smooth texture.
Using high-quality ingredients is crucial, as each component plays a vital role in the final product. By mastering the basics of Gianduja, you can create a rich and creamy spread that rivals commercial products.
Creating a perfect hazelnut spread requires attention to detail, starting with the selection and roasting of hazelnuts. To achieve a high-quality spread, you must understand the factors that contribute to its flavor and texture.
The quality of hazelnuts is crucial for making a delicious and rich hazelnut spread. You should look for hazelnuts that are fresh, have a good aroma, and are free from defects. The origin of the hazelnuts can also impact their flavor profile.
Roasting hazelnuts is a critical step that enhances their flavor and aroma. The roasting process involves heating the hazelnuts to a specific temperature to bring out their natural oils and intensify their flavor. To roast hazelnuts, you can follow these steps:

The level of roast can significantly impact the flavor of your hazelnut spread. A lighter roast will result in a more delicate flavor, while a darker roast will produce a more intense and robust flavor. You can experiment with different roast levels to find the one that suits your taste preferences.
To achieve a smooth and consistent texture in your hazelnut spread, emulsification plays a key role. Emulsification involves combining the hazelnut paste with other ingredients, such as chocolate, in a way that creates a stable and smooth mixture.
To create a rich and creamy hazelnut spread, it’s crucial to start with high-quality hazelnuts and roast them to perfection. The quality of the hazelnuts directly impacts the flavor and texture of your final product.
When it comes to selecting hazelnuts, you have several options, including raw, roasted, or blanched. For a homemade chocolate hazelnut spread, raw hazelnuts are preferred because they allow you to control the roasting process.
Look for hazelnuts that are fresh and have not been sitting on the shelf for too long. Fresh hazelnuts will have a more vibrant flavor and better texture.
Roasting hazelnuts is a simple process that can be done in the oven or on the stovetop. To roast hazelnuts in the oven, preheat to 350°F (175°C). Spread the hazelnuts on a baking sheet in a single layer and roast for about 10-12 minutes, or until fragrant and lightly browned.
Stovetop roasting involves placing the hazelnuts in a skillet over medium heat, stirring frequently until they are evenly toasted. Regardless of the method, it’s crucial to monitor the hazelnuts closely to prevent burning.
“The roasting process brings out the natural oils in the hazelnuts, which is essential for achieving a smooth texture in your hazelnut spread.”
After roasting, let the hazelnuts cool. Then, you can rub them between your hands or use a towel to remove the skins, which can be bitter and affect the texture of your spread.

By carefully selecting and roasting your hazelnuts, you set the foundation for a delicious and smooth homemade chocolate hazelnut spread.
Cocoa mass is not just a flavor enhancer; it’s also crucial for achieving the smooth texture you desire in your chocolate hazelnut spread. The quality of the cocoa mass directly impacts the final product’s texture and taste.
Emulsification is the process of combining two or more liquids that wouldn’t normally mix, like oil and water. In the context of chocolate hazelnut spread, emulsification involves blending the hazelnut paste and cocoa mass into a uniform consistency. This process is critical for achieving a silky smooth texture.
Using ingredients like lecithin can help stabilize the emulsion, ensuring that your spread remains smooth and consistent over time. As noted by chocolate experts, “The right emulsifier can make all the difference in the texture of your chocolate spread.”
“The art of making chocolate is not just about mixing ingredients; it’s about creating a harmonious balance between flavors and textures.”
To achieve a silky smooth texture, you can employ several techniques:

By mastering these techniques and using high-quality cocoa mass, you can create a chocolate hazelnut spread that rivals commercial brands like Nutella.
To create a truly exceptional chocolate hazelnut spread, it’s crucial to grasp the importance of ingredient ratios. The balance between different components not only affects the flavor but also the texture and overall quality of the spread.
Using Baker’s percentage, a method commonly used in baking, allows you to scale your recipe up or down while maintaining the perfect balance of ingredients. This system calculates each ingredient’s weight as a percentage of the total flour weight (or in this case, hazelnut weight), making it easier to adjust recipes.
For a chocolate hazelnut spread, the ratio of hazelnuts to cocoa mass, sugar, and other ingredients like lecithin (for emulsification) is critical. A typical ratio might look like this:
| Ingredient | Baker’s Percentage (%) |
|---|---|
| Hazelnuts | 50 |
| Cocoa Mass | 20 |
| Sugar | 25 |
| Lecithin | 1 |
| Cocoa Butter | 4 |
One of the advantages of understanding your ingredient ratios is the ability to adjust them to suit your taste preferences. If you prefer a stronger hazelnut flavor, you can increase the proportion of hazelnuts. Conversely, if you like it sweeter, you can adjust the sugar content accordingly.
As “The joy of making your own chocolate hazelnut spread is in the customization”, says a renowned chocolatier. Adjusting the ratios allows you to tailor the spread to your liking, whether that’s changing the level of sweetness, the intensity of the chocolate, or the richness of the hazelnut flavor.

Proper storage is crucial for maintaining the quality and extending the shelf life of your homemade chocolate hazelnut spread. As an artisan spread, it requires careful preservation to prevent oil separation, spoilage, or texture changes.
To keep your spread fresh, store it in a cool, dry place or refrigerate it. This will help preserve its smooth texture and flavor. When storing in the refrigerator, make sure to use an airtight container to prevent the absorption of odors from other foods.
To further extend the shelf life, consider using a glass jar with a tight-fitting lid, as this will help to prevent contamination and exposure to air. By following these preservation techniques, you can enjoy your homemade chocolate hazelnut spread for a longer period while maintaining its rich flavor and silky texture.